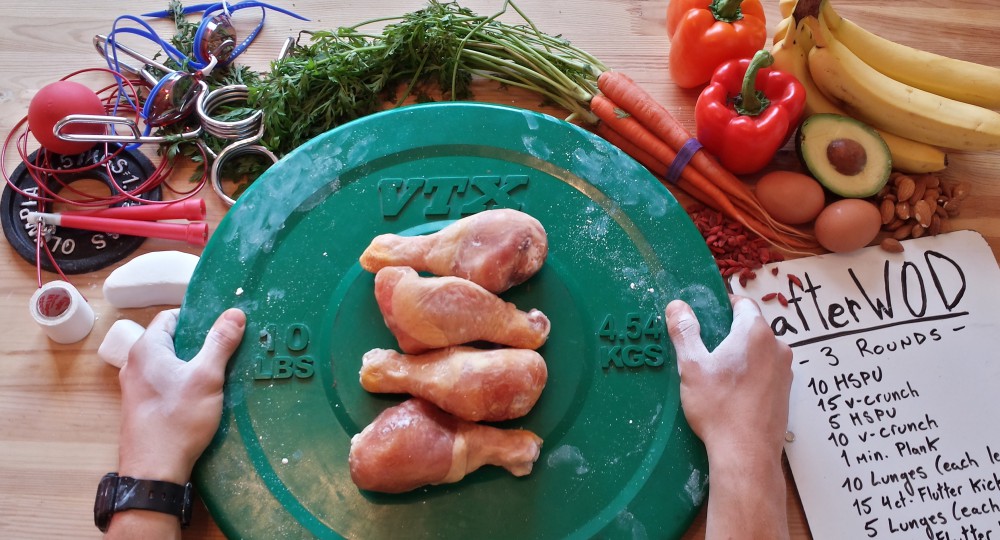
Shepherd’s Pie

WOD

100 Alternating Pistols for Time

Athlete must perform 3 Strict HSPU at the top of every minute

(including the start, at 0:00)

Lets be honest, the “meat and potatoes” of any satisfying meal is good feeling and great flavors. Therefore, it’s the homey spirit and delectable simplicity of Shepherd’s Pie that make this dish a classic. We just make it Paleo.

While beef or lamb is the prescribed protein for this traditional dish, we decided to go ‘above RX’ by choosing to use venison instead. Many of you may not be as fortunate as we are to have local resources for obtaining fresh deer meat and we recognize that venison is seasonal, regional, and often difficult to come by. However, if you can get your crosshairs hands on some, it’s worth buying in bulk. Stock the freezer and start the clock, these pistols aren’t for hunting.

Post WOD time to comments and be sure to let us know where you got your venison from!

Shepherd's Pie

  • Servings: 4-6
  • Print
Ingredients:

For the Sweet Potato Topping

2 large sweet potatoes (approx. 1 ½ lbs)

2 tablespoon ghee

1 teaspoon kosher salt

½ teaspoon black pepper

3 strips of bacon

For the Filling

1 pound venison

1 medium onion, chopped

3 strips of bacon, cut into ½” pieces

3 garlic cloves, minced

2 cups mushrooms, diced

2 cups turnips, chopped

1 cup vegetable broth

1 teaspoon dried rosemary

½ teaspoon dried thyme

½ teaspoon ground mustard

½ teaspoon cinnamon

½ teaspoon black pepper

Instructions:

-Preheat the Oven to 400’-

1). Peel and chop the sweet potatoes (about ½ inch cuts) and place them in a pot of cold water, making sure the potatoes are completely submerged. Cover the pot with a lid and, setting the heat on high, bring to a boil.

2). Once boiling, remove the lid and reduce the heat to low. Continue to cook the sweet potatoes for another 15 minutes so they become soft and tender to the forks touch.

*Efficiency Tip: While the sweet potatoes are in the pot go to step 4 for instructions on cooking the “filling”*

3). Drain the pot and put the sweet potatoes in a bowl. Add salt, pepper, and ghee and mix/mash until all ingredients are incorporated and potatoes are smooth, set aside.

4). In a large saute pan, cook 3 strips of bacon to just under preferred readiness and remove from the pan. Chop into bits and set aside. This will be the bacon we use for the potatoes’ topping.

5). In the same pan, add the onions and garlic and cook on a medium-high heat for 5-6 minutes.

6). Add the mushrooms, turnips, and the pre-cut bacon (for the filling, not the topping!) to the pan and continue to cook for 3-4 minutes.

7). While these ingredients are sauteing, place the venison in a separate bowl and add all the spices, mixing them into the meat evenly.

8). Add the seasoned venison to the saute pan and cook on a medium-high heat until brown.

9). Once brown, add the cup of vegetable broth and reduce the heat to low. Let it simmer for 10 minutes, stirring occasionally.

10). Once 10 minutes has passed, transfer the “filling” from the saute pan to a large baking dish (We used a 10 by 5-inch glass casserole dish) and layer the mashed sweet potato on top.

*Efficiency Tip 2: It is important to make sure the edges of the baking dish are sealed with the sweet potatoes so that the juices from the filling do not bubble up and spill onto the top of the mash.

11). Sprinkle the layered sweet potatoes with the cooked bacon bits from step 4 and place in the oven for 20-25 minutes (just as the sweet potatoes’ edges begin to brown).


12). Remove and set aside to cool for at least 10 minutes before serving. WOD. Eat. Repeat. 

Balsamic Blackberry Chicken Quarters

BlkBerryChicken3WOD

14 Minute AMRAP:

 7 Push Ups

14 Alternating Lunges

21 Sit Ups

28 Double Unders

While Martha Stewart may have never willingly performed a burpee in her life, she’s still made some veteran moves in the kitchen and is a valuable resource for converting poods to pounds fresh herbs to dried (3 fresh to 1 dried, and for future reference three teaspoons equal one tablespoon).

If you can’t get your hands on the fresh stuff, no shame in going with the dried…but it may be time to invest in some potted herbs.

Post WOD rounds and reps to comments.

Balsamic Blackberry Chicken Quarters

  • Servings: 2-4
  • Print
Ingredients:DSC03175

For the Chicken

4 chicken leg quarters

1 lemon juiced + 1 tablespoon zest

3 cloves garlic, minced

1/4 cup olive oil

1 tablespoon fresh thyme (1 teaspoon if using dry)

1 tablespoon fresh rosemary, chopped

For the Balsamic Blackberry Reduction

1 tablespoon ghee

1/4 cup red onion, diced

1 cup balsamic vinegar

2 cups fresh blackberries

1/2 cup honey

1 bay leaf

salt and pepper to taste

Instructions:

1). Combine ingredients for the chicken in a large ziploc bag, seal tightly and massage over chicken. Place in the refrigerator for at least 1 hour.

2). Preheat oven to 450℉ and line a baking sheet with parchment paper. Yes, parchment paper really does make a difference.

3). While waiting for the oven to warm up, melt the ghee in a medium saucepan over medium heat. Once the ghee has completely melted add the diced red onion and cook until translucent, stirring occasionally.

4). Add the remaining ingredients to the saucepan and increase the heat to medium high. Bring to a boil, and then reduce the heat to achieve a low simmer. Allow to simmer uncovered for 15 minutes or until the reduction reaches your desired thickness (you should aim to reduce the liquid by 1/3 to 3/4). Be sure to stir from time to time to avoid burning.

5). While the balsamic reduction is simmering place the chicken leg quarters on the baking sheet (meaty side up like in the pictures), and place in the oven for 30-35 minutes until juices run clear and skin is crisp.

6). Plate the chicken and drizzle with the balsamic blackberry reduction. Don’t eat the bay leaf. WOD. Eat. Repeat.

Grilled Turkey Burgers with Roasted Apple

IMG_1030
WOD

For Time

20 Squats 15 Sit Ups 10 Push Ups

19 Squats 15 Sit Ups 11 Push Ups

18 Squats 15 Sit Ups 12 Push Ups

17 Squats 15 Sit Ups 13 Push Ups

16 Squats 15 Sit Ups 14 Push Ups

15 Squats 15 Sit Ups 15 Push Ups

Eggs and… burgers? Sure bacon or sausage may be the standard for breakfast meats, but how come the burger hasn’t made it into the rotation? Don’t get us wrong, these delicious patties are always an afternoon/evening favorite for picnics, potlucks, and everything in between, but why stop at lunch and dinner? Why not enjoy these juicy burgers for breakfast too?

Whether you’re having a barbecue in the backyard or a craving at the break of dawn, enjoy our Grilled Turkey Burgers any time of the day! But don’t forget to replace the would-be bun with some roasted apple slices for a sweet and tangy crunch; just be sure to finish the WOD before the tryptophan sets in.

Post WOD time to comments and let us know if you decide to mix it up by substituting other apples for the Cortland.

Grilled Turkey Burgers with Roasted Apple

  • Servings: 2-3
  • Print
Ingredients:IMG_1033

For Burgers

1 pound ground turkey

1/2 cup onion, diced

1/4 cup cashew meal

3 cloves garlic, minced

1 tablespoon dried sage

1 tablespoon dried oregano

1/2 teaspoon sea salt

1/2 teaspoon fennel seed

1/2 teaspoon nutmeg

1/4 teaspoon black pepper

For Roasted Apple

1 Apple (we are partial to Cortland)

2 Tablespoons raw honey

1/2 teaspoon cinnamon

1/8 teaspoon sea salt

Instructions:

– Preheat Oven to 350 Degrees –

1). Combine all dry ingredients for burgers in a large bowl.

2). Add onions, garlic, and ground turkey to the bowl and mix all ingredients generously

*Efficiency Tip* –  Wet your hands with water before handling ground turkey, it has a tendency to stick to your fingers easily otherwise.

3). Form 5-6 burger patties (roughly 1 1/2 – 2″ thickness), set aside and start the grill.

4). While the grill heats, core and slice the apple to about 1/4″ thickness.

5). Combine the honey, cinnamon, and salt in a small bowl and add apple slices.

6). Once all the apples are evenly covered with the mixture spread them across a baking tray (use parchment paper or lightly oiled aluminum foil) and place in the oven for 10-12 minutes, or once the edges are brown.

7). By the time the apples are in the oven the grill should be ready, place the burgers on there and grill for 6-7 minutes per side (only flip once)

8). Plate the burgers on a bed of roasted apple or smother the burgers with the slices. WOD. Eat. Repeat.

Jerk Wings

DSC03230

WOD

EMOTM for 15 Minutes:

9 Squats

7 Push Ups

5 Burpees


The Split. The Squat. The Spice.

When it comes to the jerk, it is not uncommon to have arguments carry on for hours regarding which style will earn you the top spot on the podium, but there are two critical components that remain uncontested: the scotch bonnet pepper and the pimento berry (better known as allspice). Consider these essential ingredients the culinary equivalent to the fundamental “dip and drive” used by Olympic lifters to initiate their variation of the jerk, a movement subsequent to the clean which are performed in tandem during competition.

Just as a chef cannot title a spice “jerk” (and claim authenticity) without utilizing pimentos and scotch bonnets, an Olympic lifter cannot successfully jerk the barbell without dipping and driving underneath. These are the accepted principles in the respective worlds of the kitchen and the platform. Debate arises when the variations are juxtaposed, such as, ‘which is stronger, the split jerk or the squat jerk?’

While the split grants greater stability and control of the bar once under it, the squat rewards speed with strength. Heavier weight can be supported by receiving the bar faster in the landing position (via catching in a squat) but this comes at the expense of stability, a crucial element accounted for by the split.

So which is better? The answer is contingent on the preference of the lifter and his or her comfort in the catch. As for the spice, well, we think our variation is the best around but we’ll let you be the judge of that. Be sure to post how the WOD went and whether you prefer the split or the squat jerk.

Jerk Wings

  • Servings: 4-6
  • Print
Ingredients:DSC03242

2 teaspoons allspice

½ teaspoons cinnamon

½ teaspoons nutmeg

1 small yellow onion

6 cloves garlic

2 Tablespoons freshly picked thyme leaves, packed

2” ginger root

¼ cup coconut aminos

3 limes, juiced + 1 Tablespoon zest

2 Tablespoons olive oil

1 Scotch Bonnet pepper

3 Tablespoons packed coconut sugar

salt and pepper to taste

3lbs chicken wings + legs

Instructions:

1). Pulse all ingredients (except the chicken…) in a food processor for about 30 seconds.

2). Combine chicken and Jerk marinade in a large ziplock bag, tightly seal and massage the marinade over the chicken. Place in the refrigerator for 8-12 hours.

3). Preheat the broiler and line a baking sheet with tin foil. Keep foil loose around the edges of the sheet and perforate (this will allow the juices to drain a bit). Arrange the chicken so that each piece is in contact with the baking sheet and not on top of another piece of chicken.

*Alternately you can use a grill for this step*

4). Broil for five minutes, remove and rearrange so that all pieces can brown/black a bit. Do this three times.

5). Turn your oven to 350℉ and move the baking sheet to the oven.

6). Bake the wings in the oven for approximately 15 minutes. Sprinkle with lime juice and serve immediately. WOD. Eat. Repeat.